Spring Decor & Easter Bunny Sign

My kids have been so excited for Easter all month!  When we decorated our front porch, my little ones thought that the Easter Bunny was coming the next day.... 
 Spring Decor | Easter Bunner Sign | A little about a lot
That was 2 weeks ago.  

So every morning we go through the same routine:  They wake up and ask "Did the Easter Bunny come?  Did he hide the eggs? " Then they proceed to look the window at the grass in the backyard.

We've tried to explain that Easter is in a "few weeks", but our 2 & 3 year old have no concept of real time.  They associate everything with, today, tomorrow or yesterday.  So it looks like it's gonna be Groundhog Day around here... until Easter Sunday finally arrives! {luckily we only have a few more days left. haha}
{we believe} in the Easter Bunny sign | A little about a Lot
I wanted to make this Easter Bunny sign last year, but never got around to it.  So this year I was determined to make it.  It cost me nothing {since I had all the supplies on hand}, but even if you had to purchase them, it couldn't be more than $5-7 and it turned out super cute!

This is pretty easy to make, especially if you have a Silhouette or Cricket.  I created my design on my Silhouette and then cut everything out on vinyl.
{we believe} in the Easter Bunny sign | A little about a Lot
 Got all my vinyl onto the transfer paper
{we believe} in the Easter Bunny sign | A little about a Lot
Time to line everything up.  

I used a canvas {because there was a great sale at Michael's and I stocked up!}.  However, you could use poster board, a piece of wood or even cardstock.
{we believe} in the Easter Bunny sign | A little about a Lot
 Tape everything down
{we believe} in the Easter Bunny sign | A little about a Lot
Time to start pressing the vinyl onto the canvas.  I started upside down, so I could get into all the areas around the wood edges
{we believe} in the Easter Bunny sign | A little about a Lot
For the top, I placed a thick book under, so while I was pushing, there was something hard underneath {since the wood edge creates a gap between the canvas & table}
{we believe} in the Easter Bunny sign | A little about a Lot
Peel off the transfer paper
{we believe} in the Easter Bunny sign | A little about a Lot
Next cover your letters in Mod Podge.  The reason is when you paint over the letters, the mod podge will create a barrier, so the paint won't bleed/leak under the vinyl.   You could bypass this step, but I recommend that you don't :)
{we believe} in the Easter Bunny sign | A little about a Lot
Once it dries, get your paint out
{we believe} in the Easter Bunny sign | A little about a Lot
Did you notice that I used an egg dying cup to paint my Easter sign? hehe.  Just trying to stay with the Easter theme :)

Start covering the canvas completely. 
{we believe} in the Easter Bunny sign | A little about a Lot
Don't forget the sides {I used my thick book again to hold up the canvas so I could paint the sides} 
{we believe} in the Easter Bunny sign | A little about a Lot
Now I forgot to take pics of this part... but once it's dry peel all the letters off carefully.

Here is how it will look!
{we believe} in the Easter Bunny sign | A little about a Lot
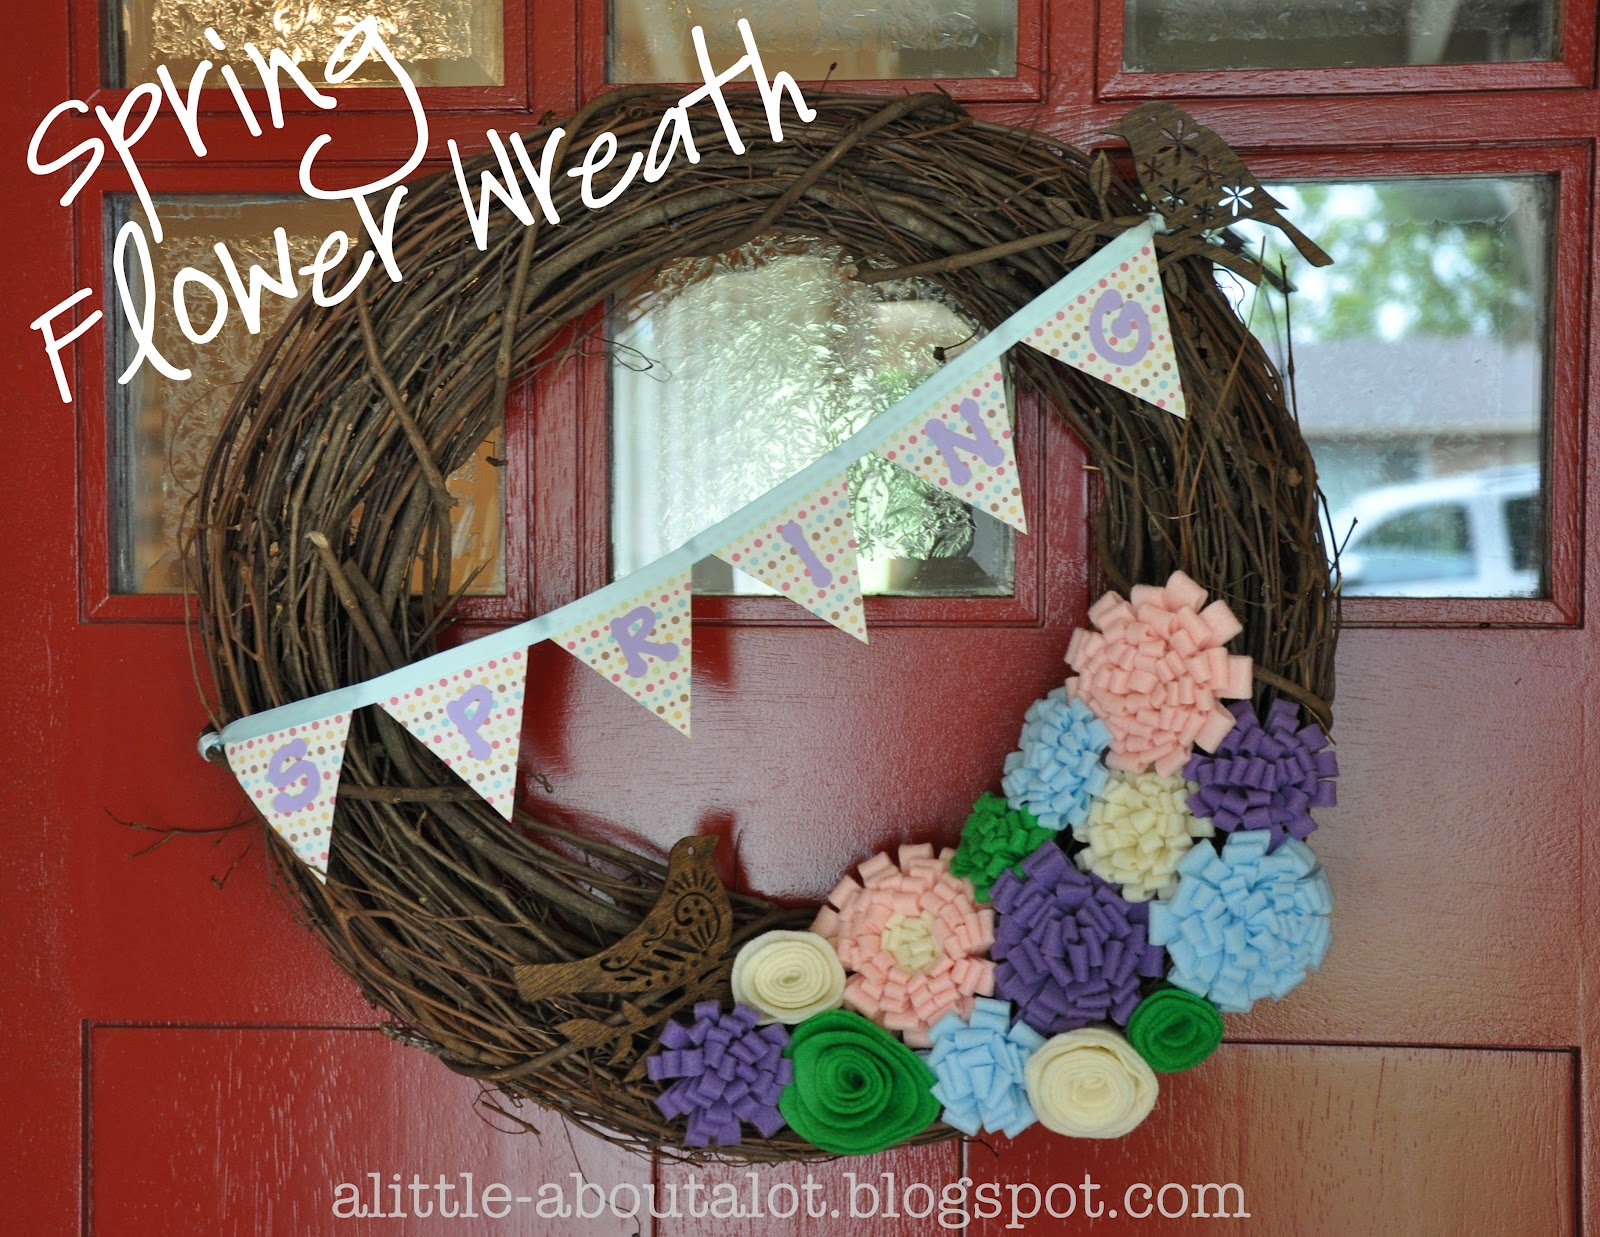
 It was the perfect addition to my Front Porch Spring Decor! 
Spring Decor | Easter Bunner Sign | A little about a lot
Don't you just LOVE that bunny vase?  My MIL gave it to me a few years ago and it's probably my favorite Spring/Easter decoration!
 Spring Decor | Easter Bunner Sign | A little about a lot
Spring Decor | Easter Bunner Sign | A little about a lot
Having kids reminds me how magical holidays can be.  Believing in the Easter Bunny is such a fun tradition that I love getting to experience all over again with my kids!
Spring Decor | Easter Bunner Sign | A little about a lot
HAPPY EASTER!
(to see where I've linked up - click here!!)

post signature 


More Easter Ideas:


Related Posts Plugin for WordPress, Blogger...